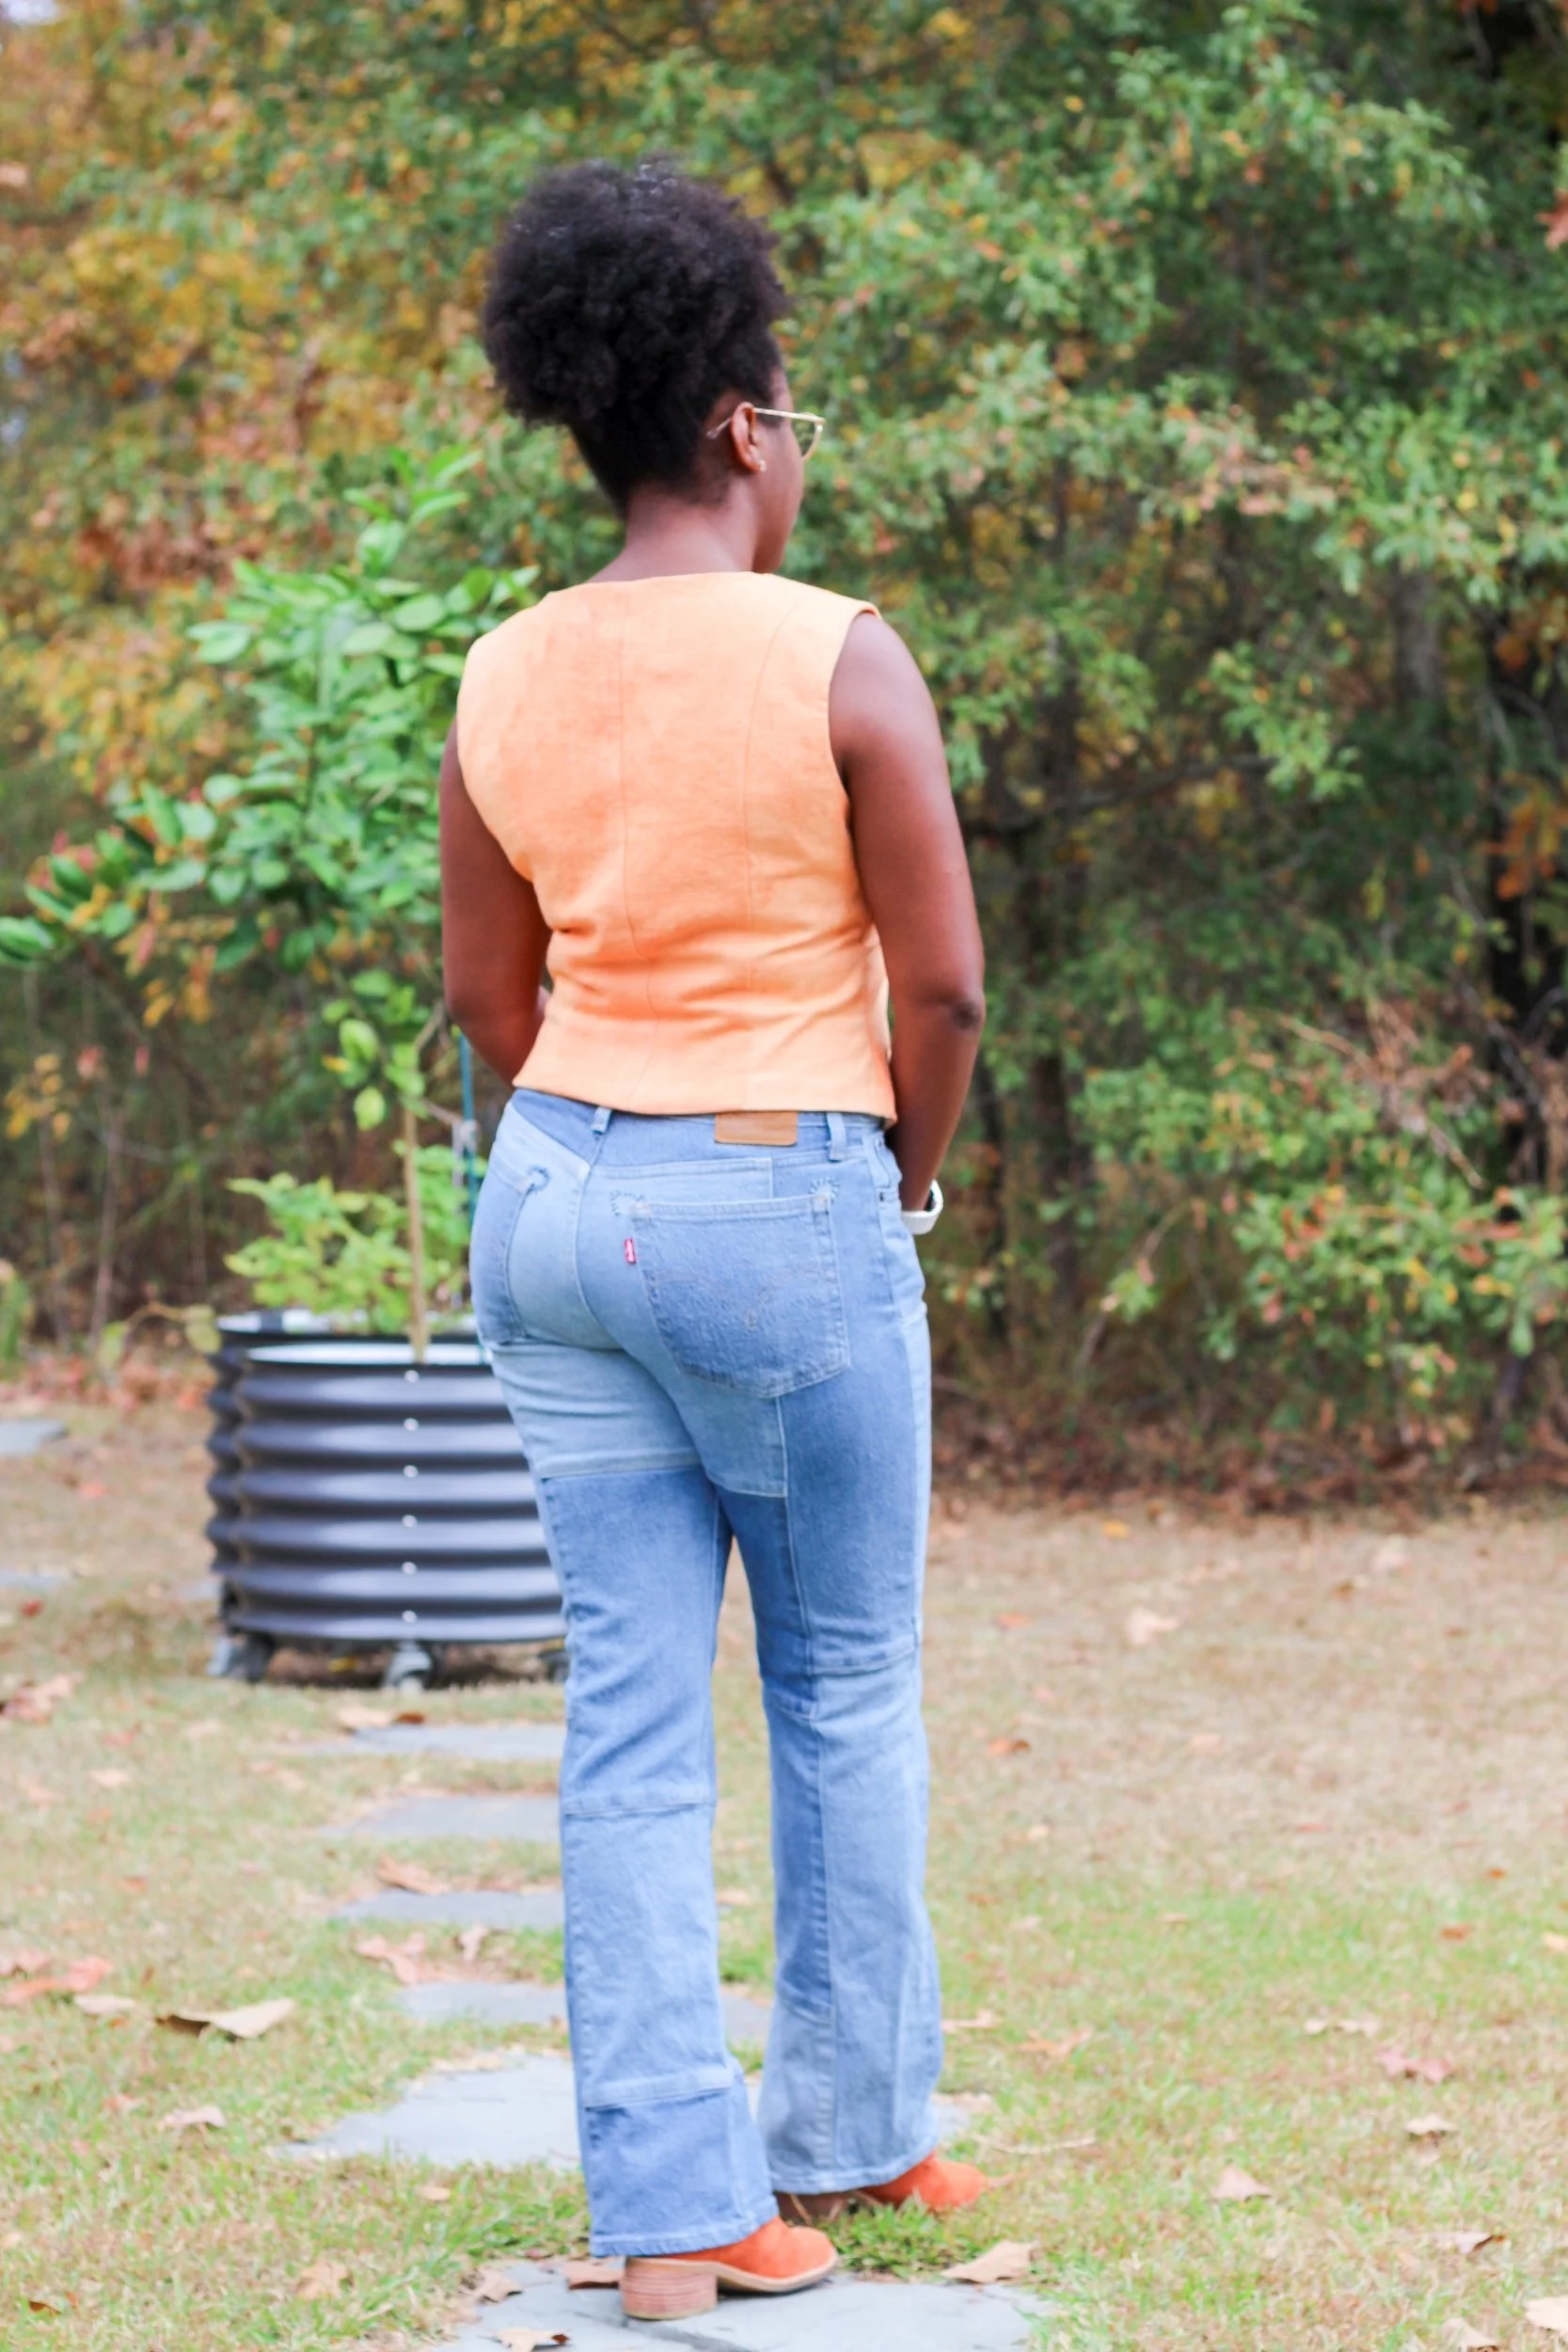
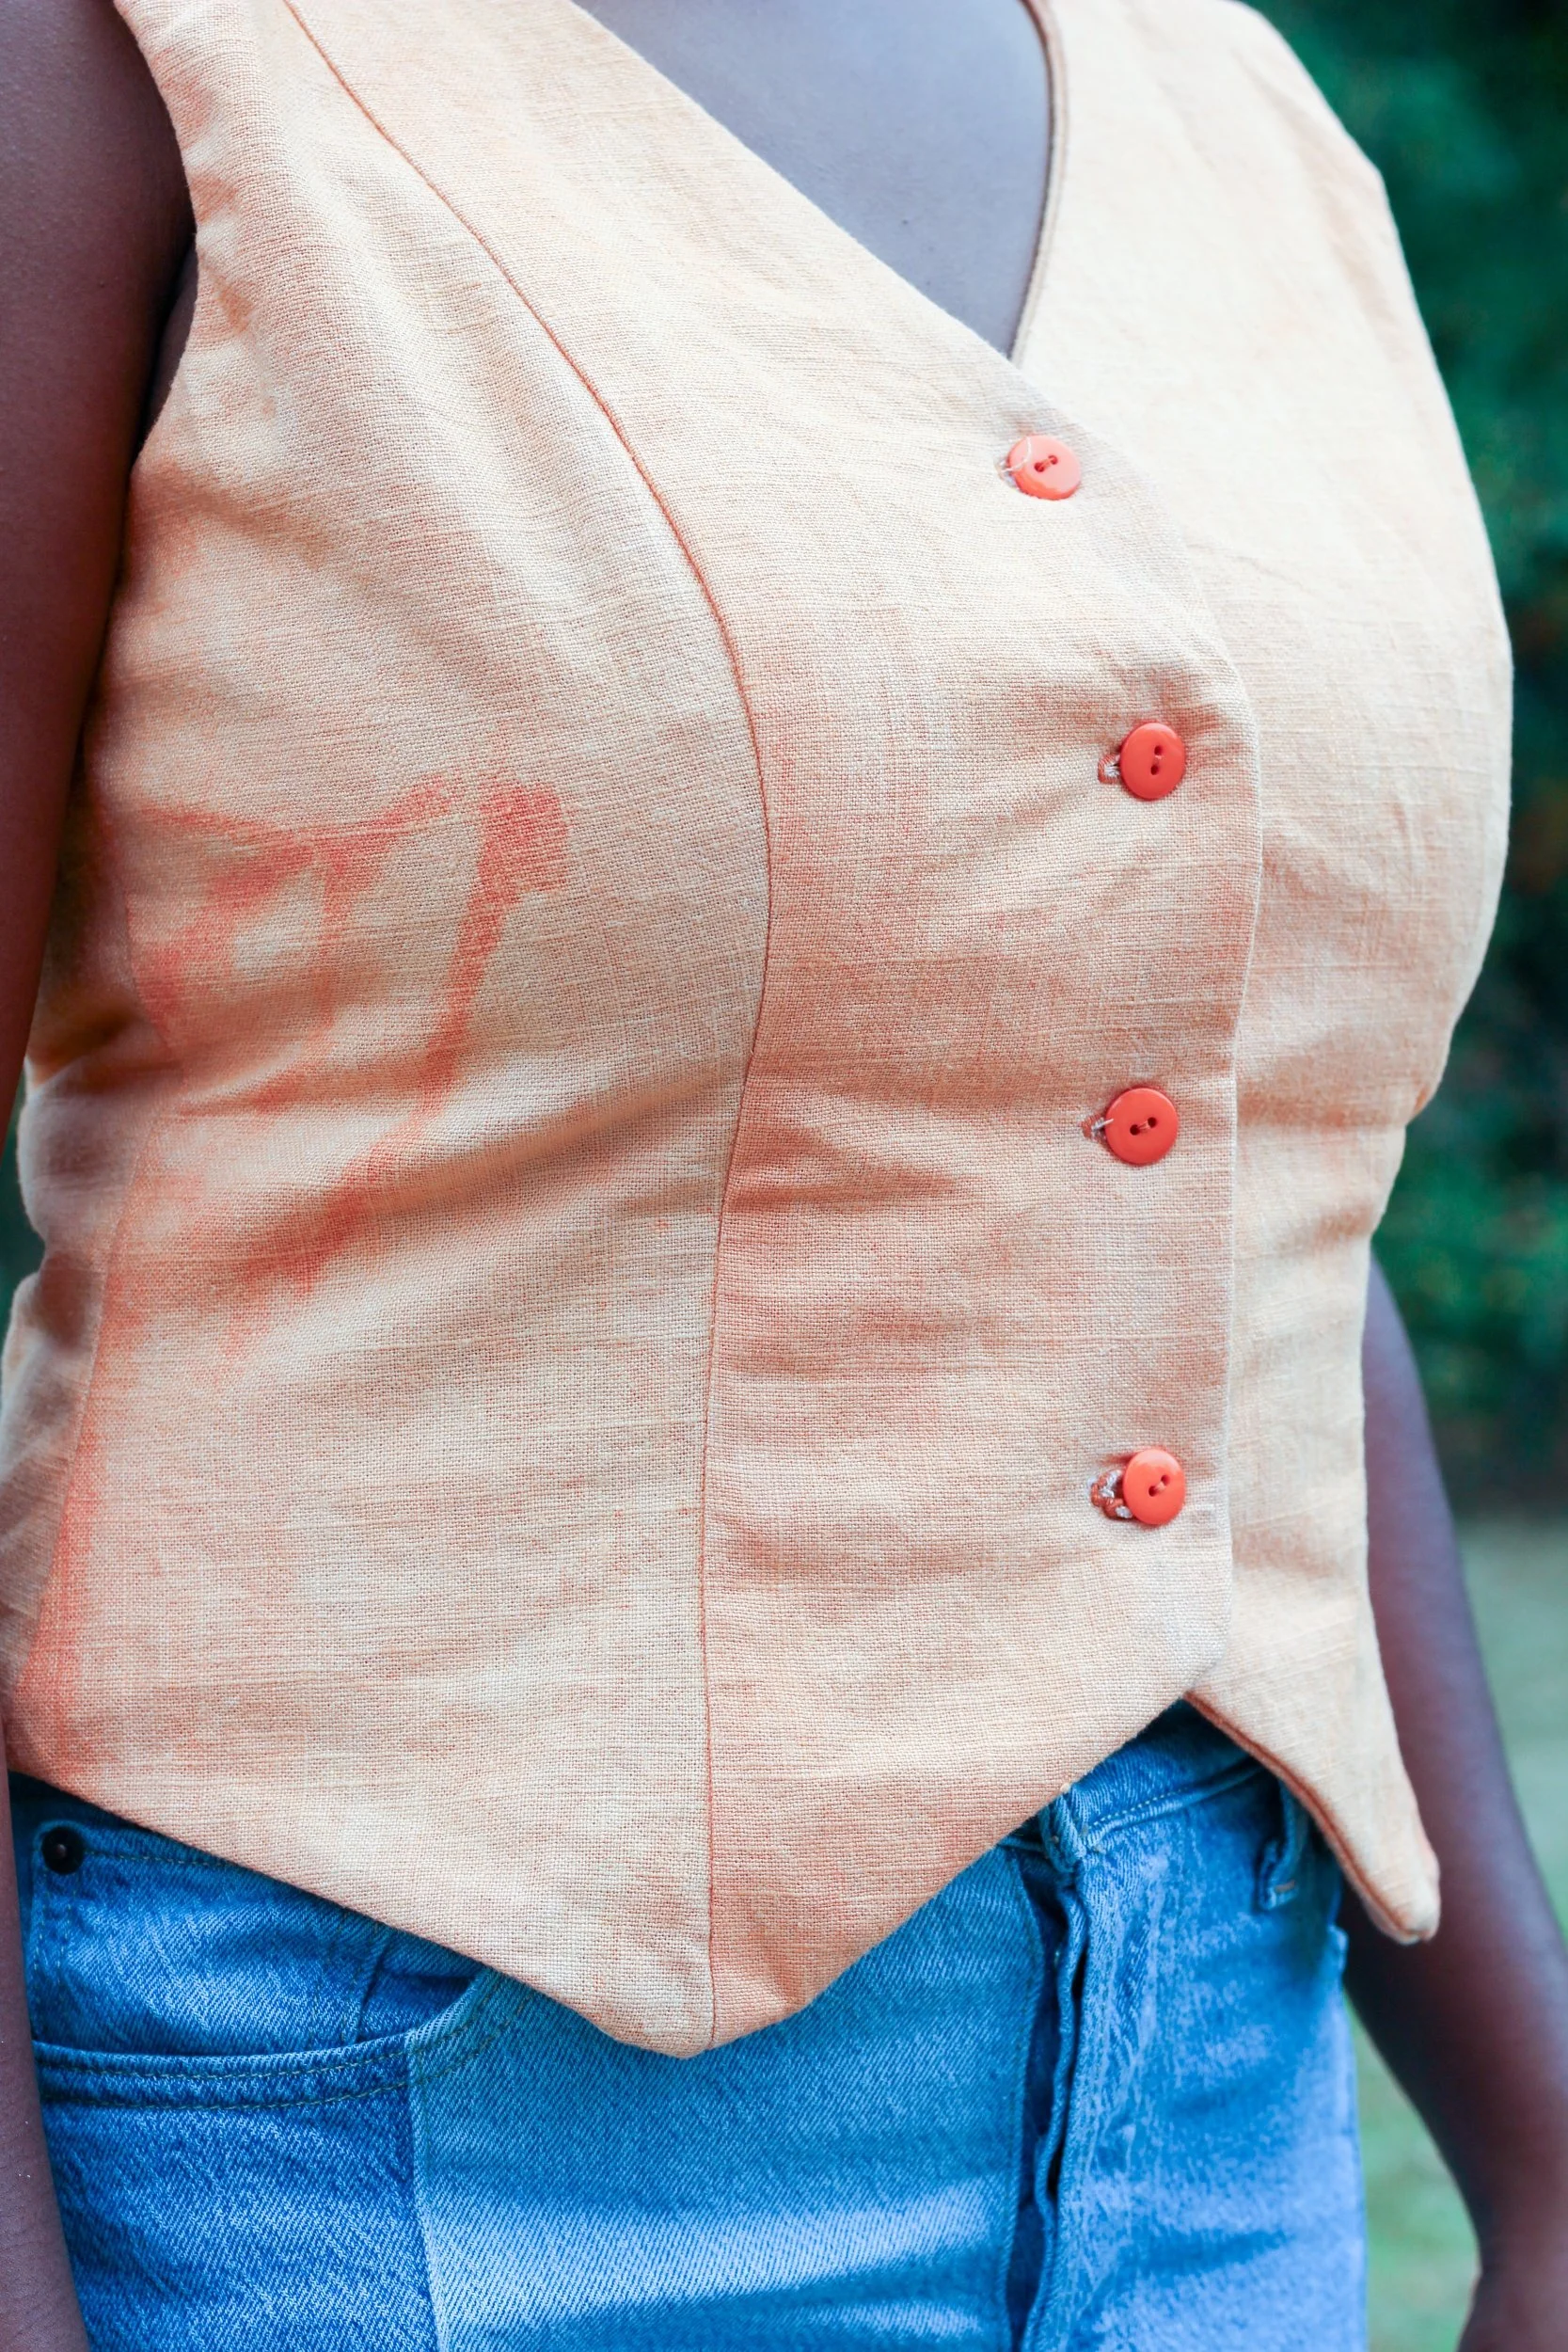
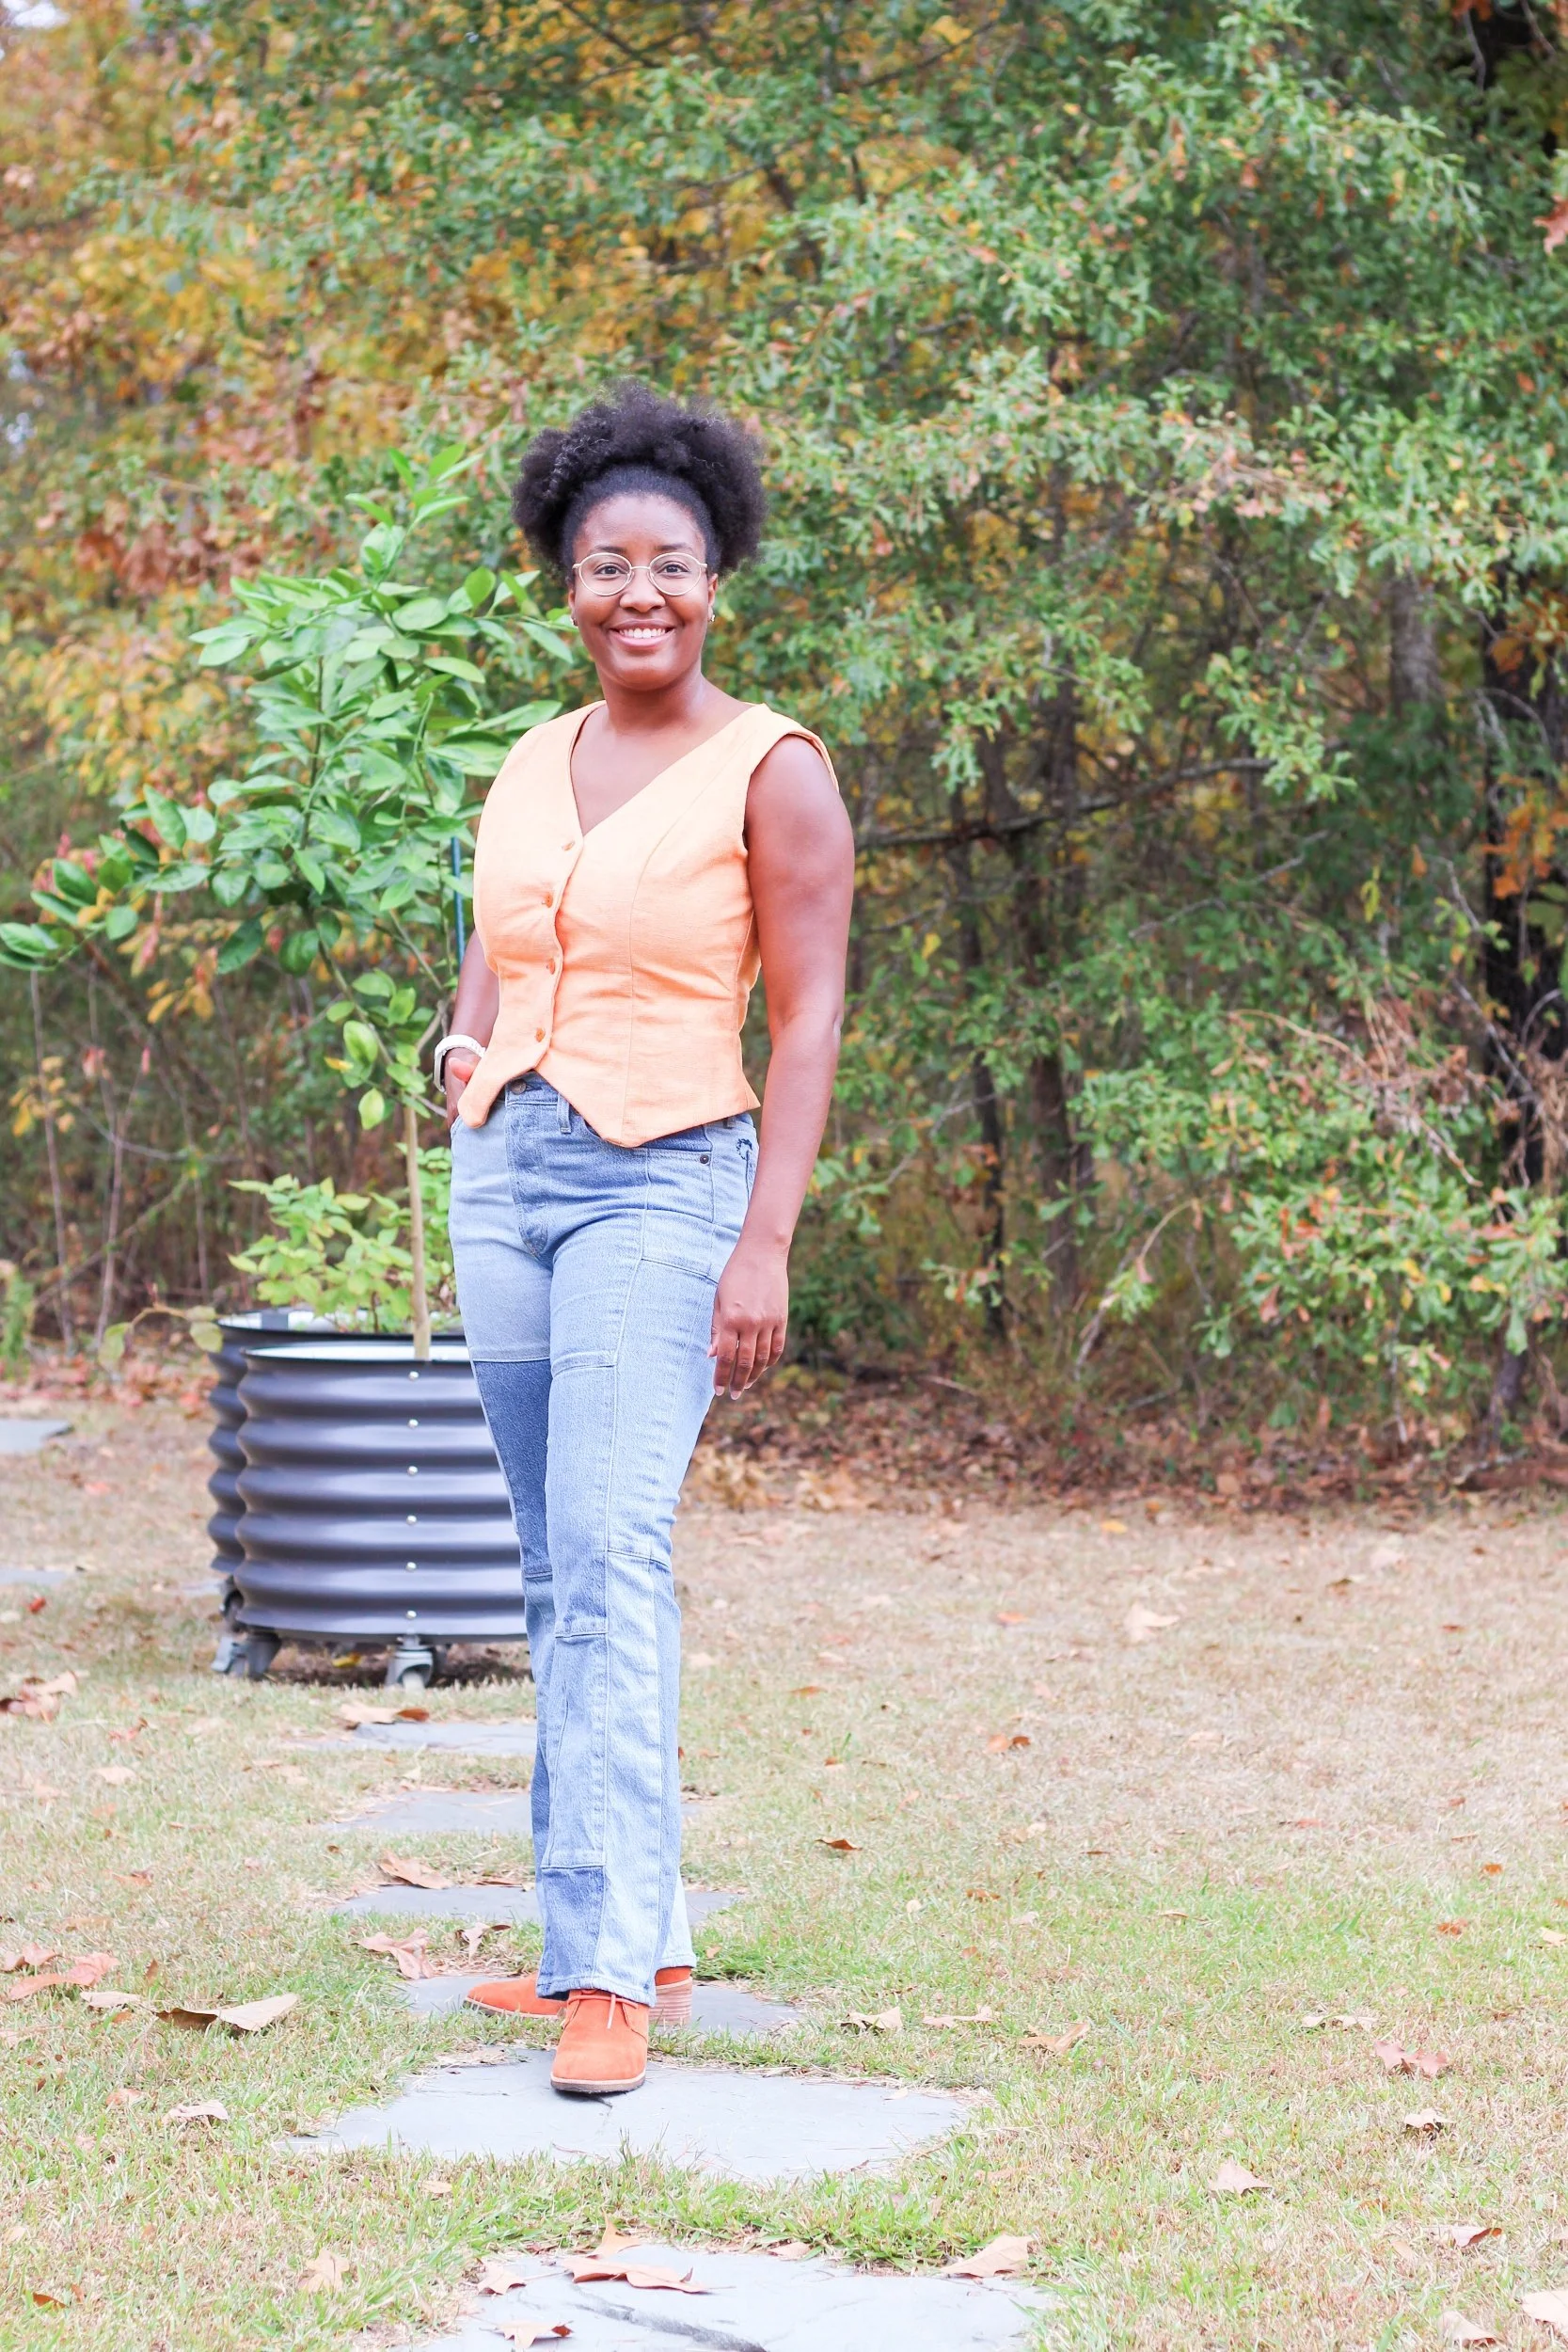
Fall Vest Top: Simplicity 3067
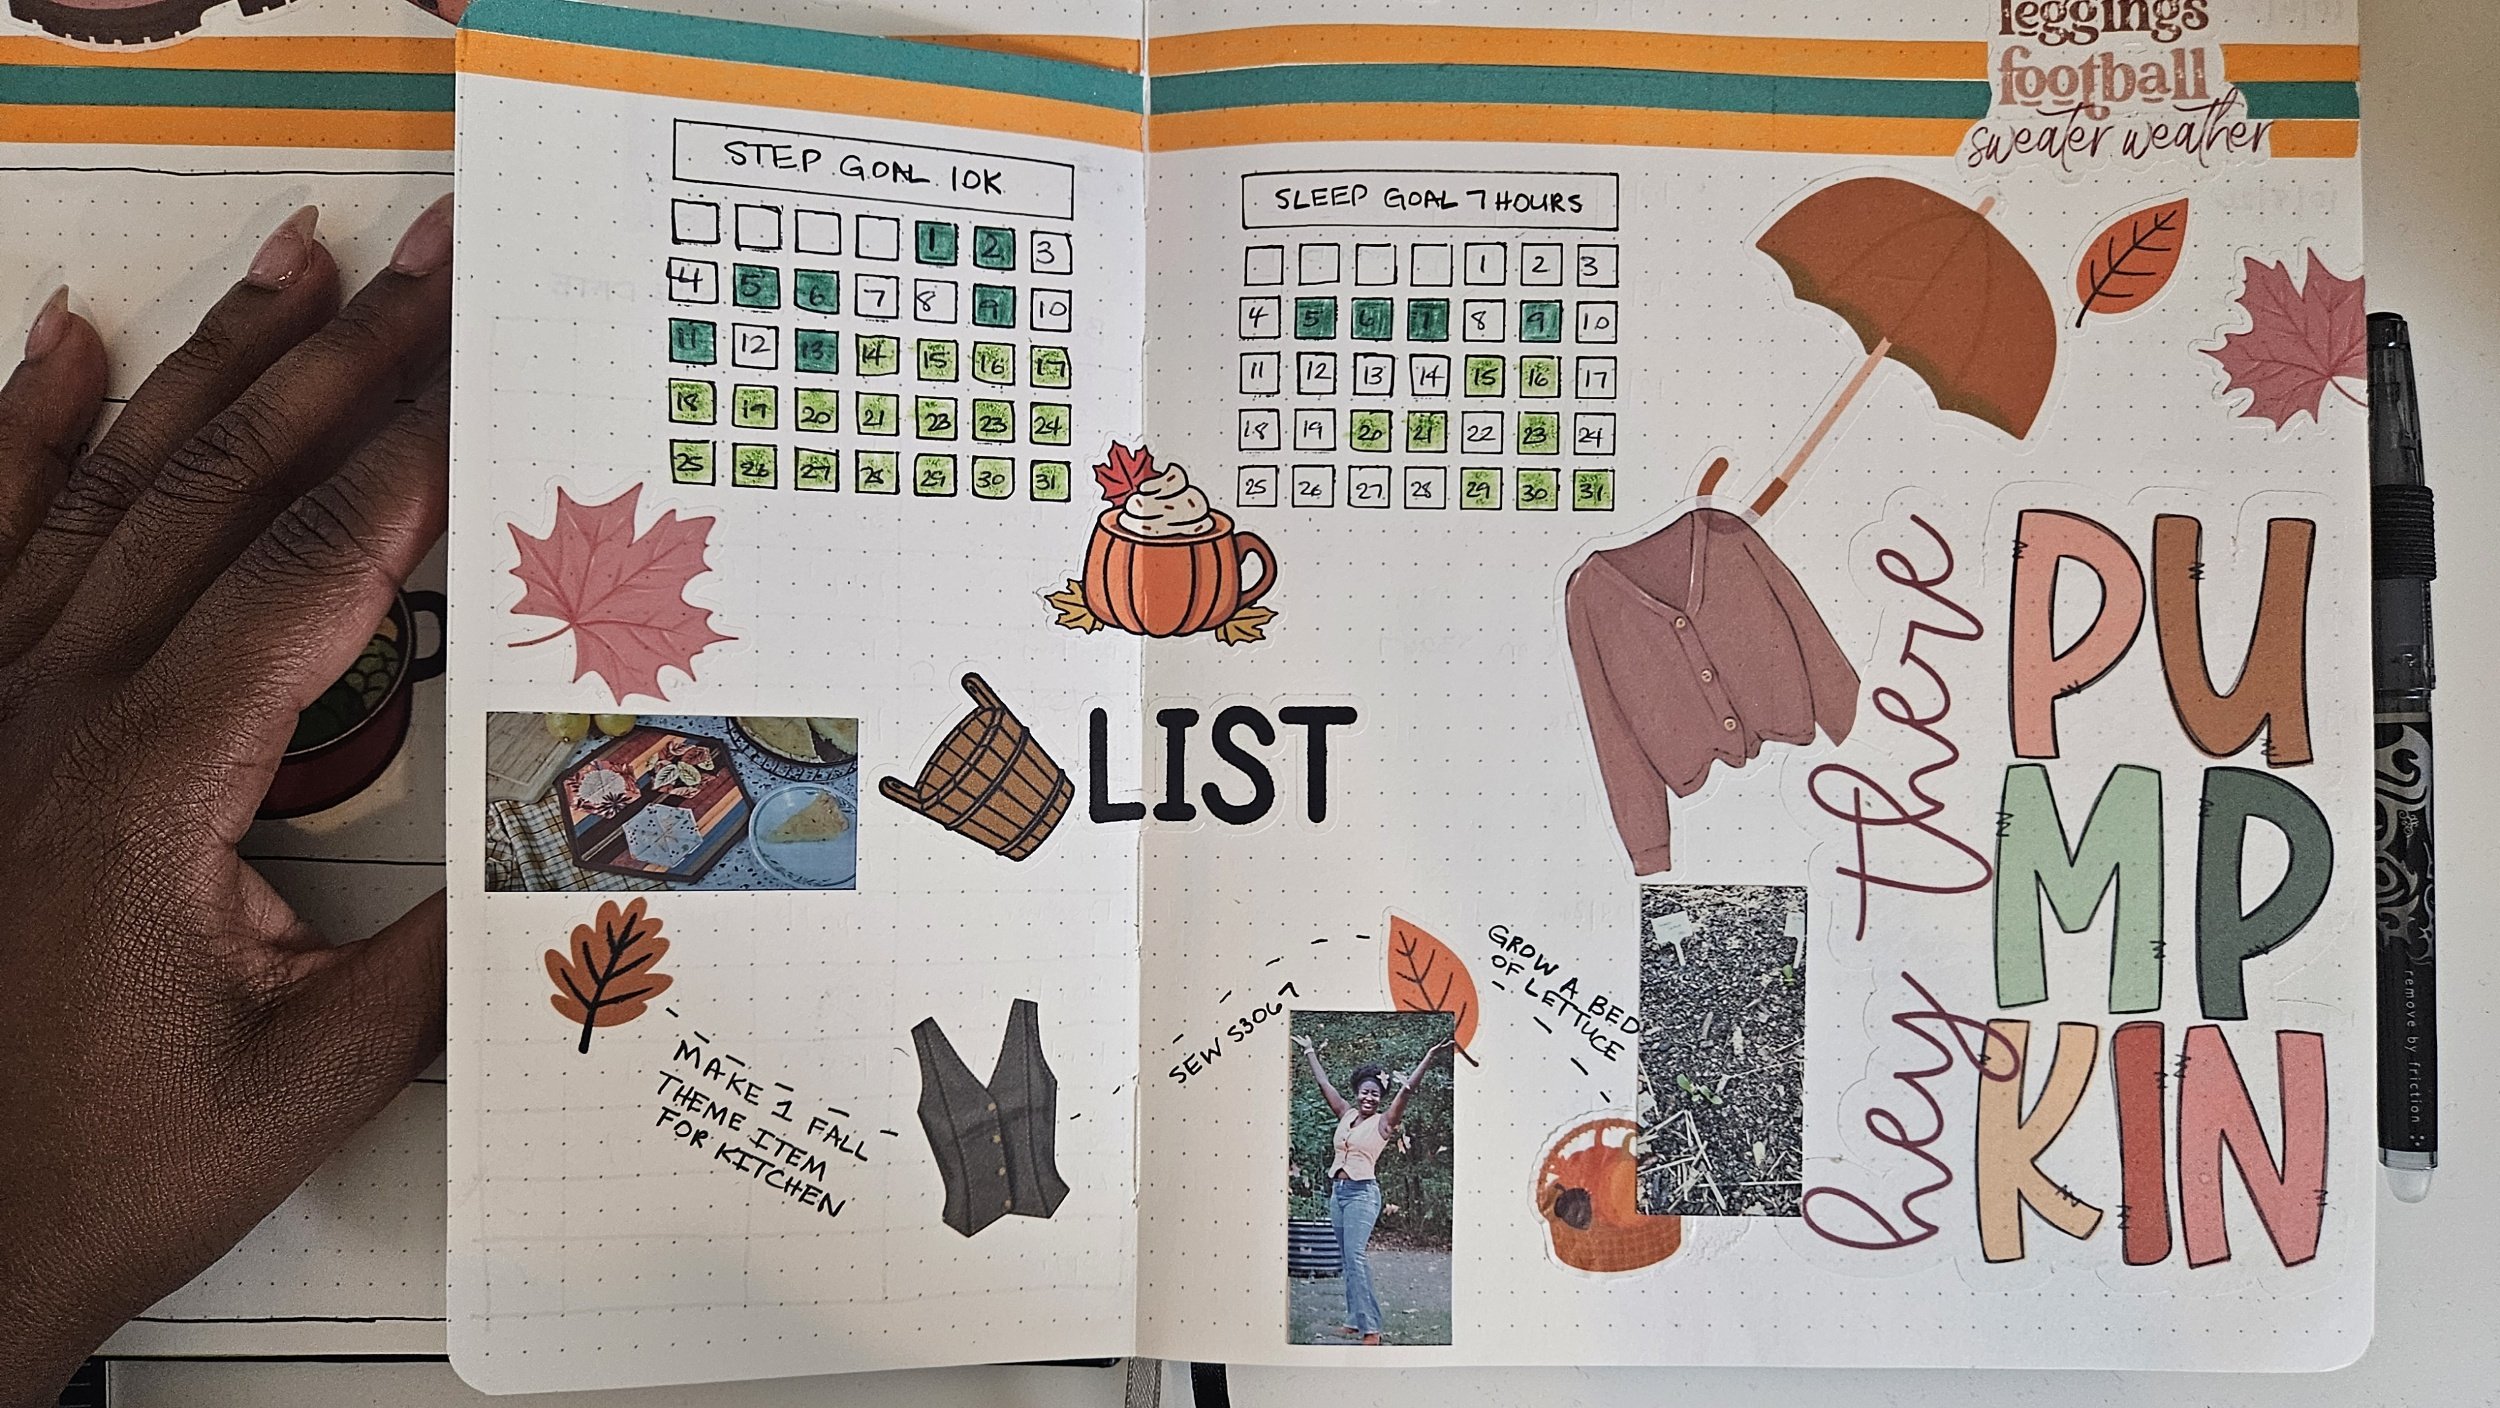
One of the things I wanted to accomplish this October was to sew Simplicity 3067. Now that I have completed the Whole30Fabric Challenge, I am changing gears and focusing on all the uncut patterns on my shelf. In my October: Plan With Me video, I put together an October bucket list, and sewing S3067 made the cut, along with a few other things I hoped to tackle throughout the month.
For this project, I made View A of Simplicity 3067. I used another fabric that has been sitting in my stash for quite some time: JoAnn’s Linen Look fabric. The fabric was originally beige, but I dyed it a few years ago for another project and never got around to cutting into it, so I’m glad I finally found a use for it.
One thing I really like about this pattern is that it comes with cup size options. If you often find yourself making full bust adjustments (FBA) to standard sewing patterns, including cup sizes can make fitting a little easier. Based on the difference between my high-bust and full-bust measurements, the pattern instructions recommended a C cup. I chose a size 12 and graded up to a size 14 at the waist.
Although I made a toile to check the fit before cutting into my fashion fabric, I still ended up with some gaping at the armhole. I plan to make this pattern again using denim, and my next adjustment will be to run an ease line along the front armhole to help eliminate that excess fabric. Hopefully, that will solve the issue.
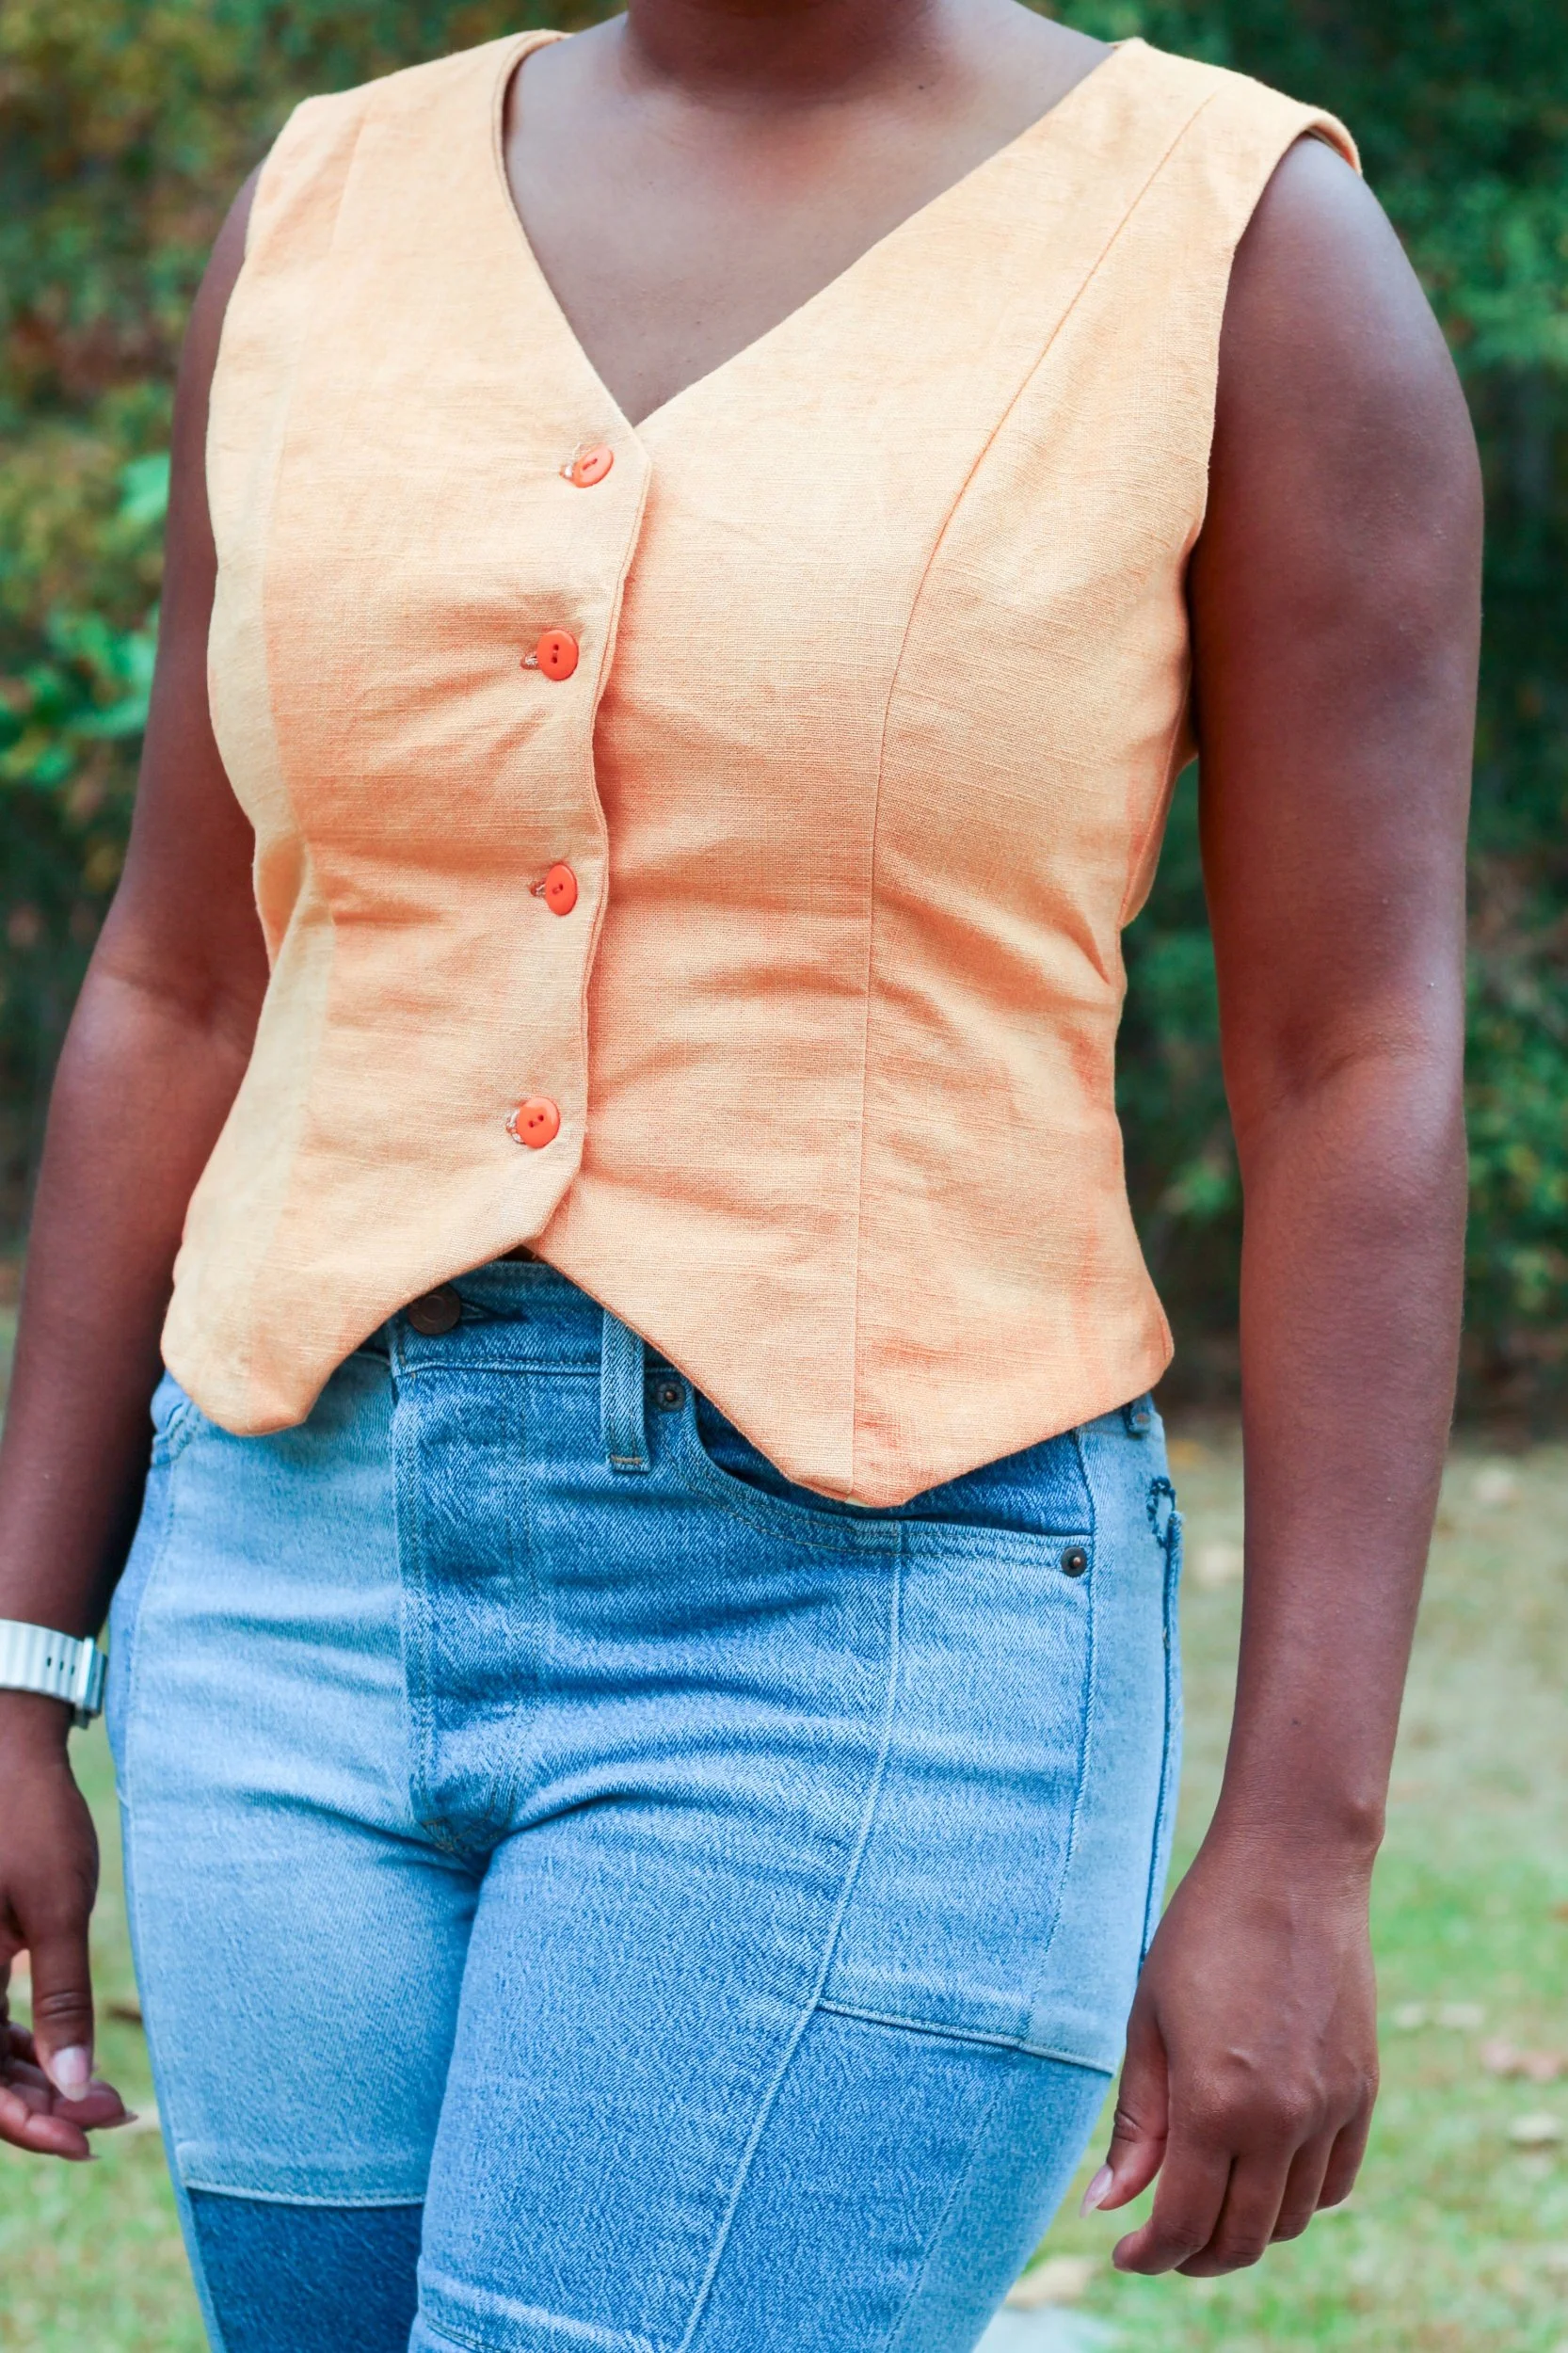
Aside from the armhole gaping, I really like the style of this pattern. In fact, I’d love to make the other 3 views at some point. As for construction, I found the instructions relatively straightforward. The only step I can see someone getting a little hung up on is turning the lining right side out. A few years ago, I went through a phase of making reversible garments and became pretty familiar with the burrito method for enclosing seams. That experience came in handy with this pattern. I’m including a few photos of that particular step because I think seeing the process in color may make a little more sense than the black-and-white line-art illustration included in the instructions.
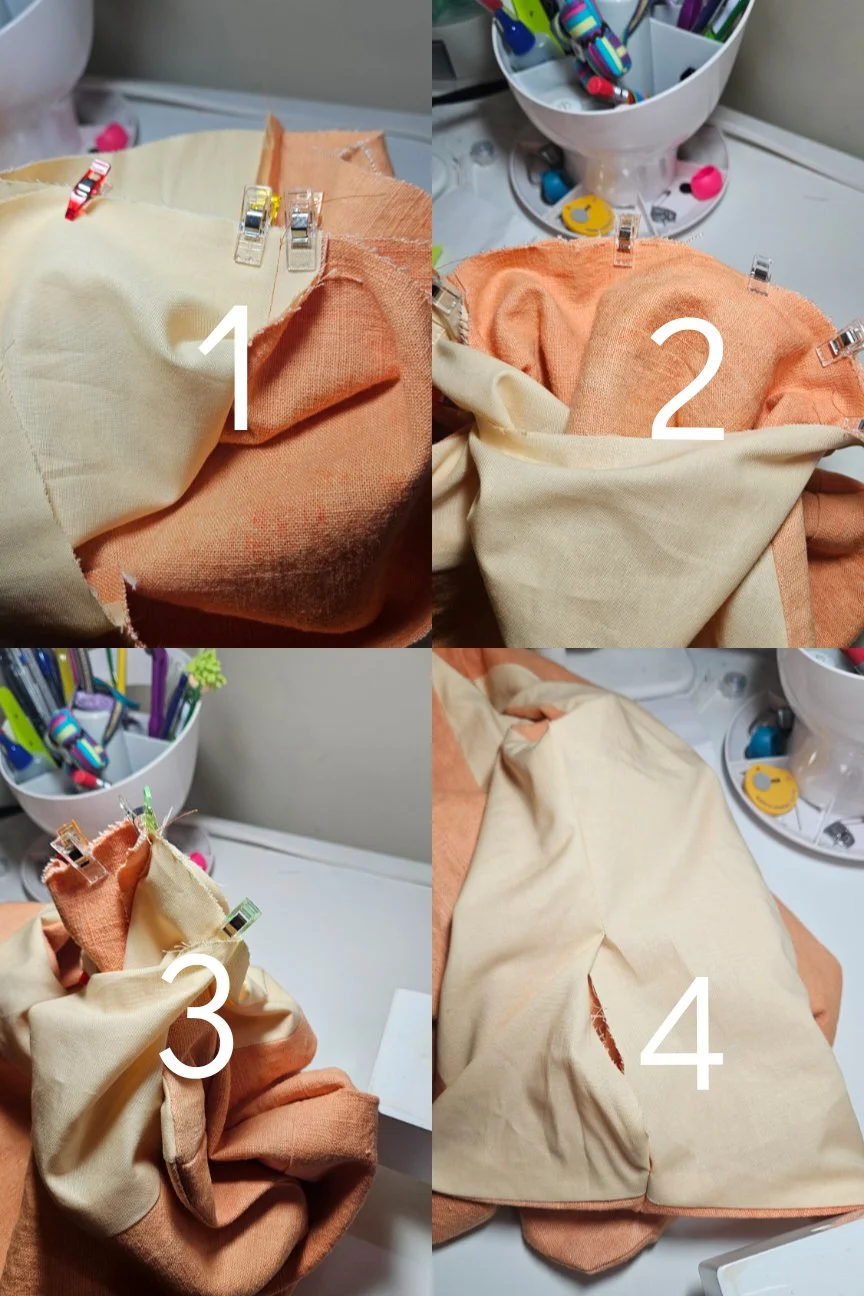
With fabric pinned right sides together, start stitching 2 inches above the armhole seam (photo 1) and end stitching 2 inches below seam at lower edge (photo 3). After you turn in the seam allowance sewn, there will be a small opening that has to be slipstitched (photo 4).
I'm looking forward to getting more use out of my pattern collection. My goal is to sew at least one uncut pattern every month, but I also plan to spend the next few months revisiting some of my tried-and-true patterns. That said, I've made a few garments in the last year or two that I absolutely love, and I'd like to use those patterns as a starting point for something new. That means there will be plenty of sewing in my future! The timing couldn't be better, either, with things beginning to slow down in the garden. It looks like I'll be spending a little more time at my sewing machine in the months ahead.