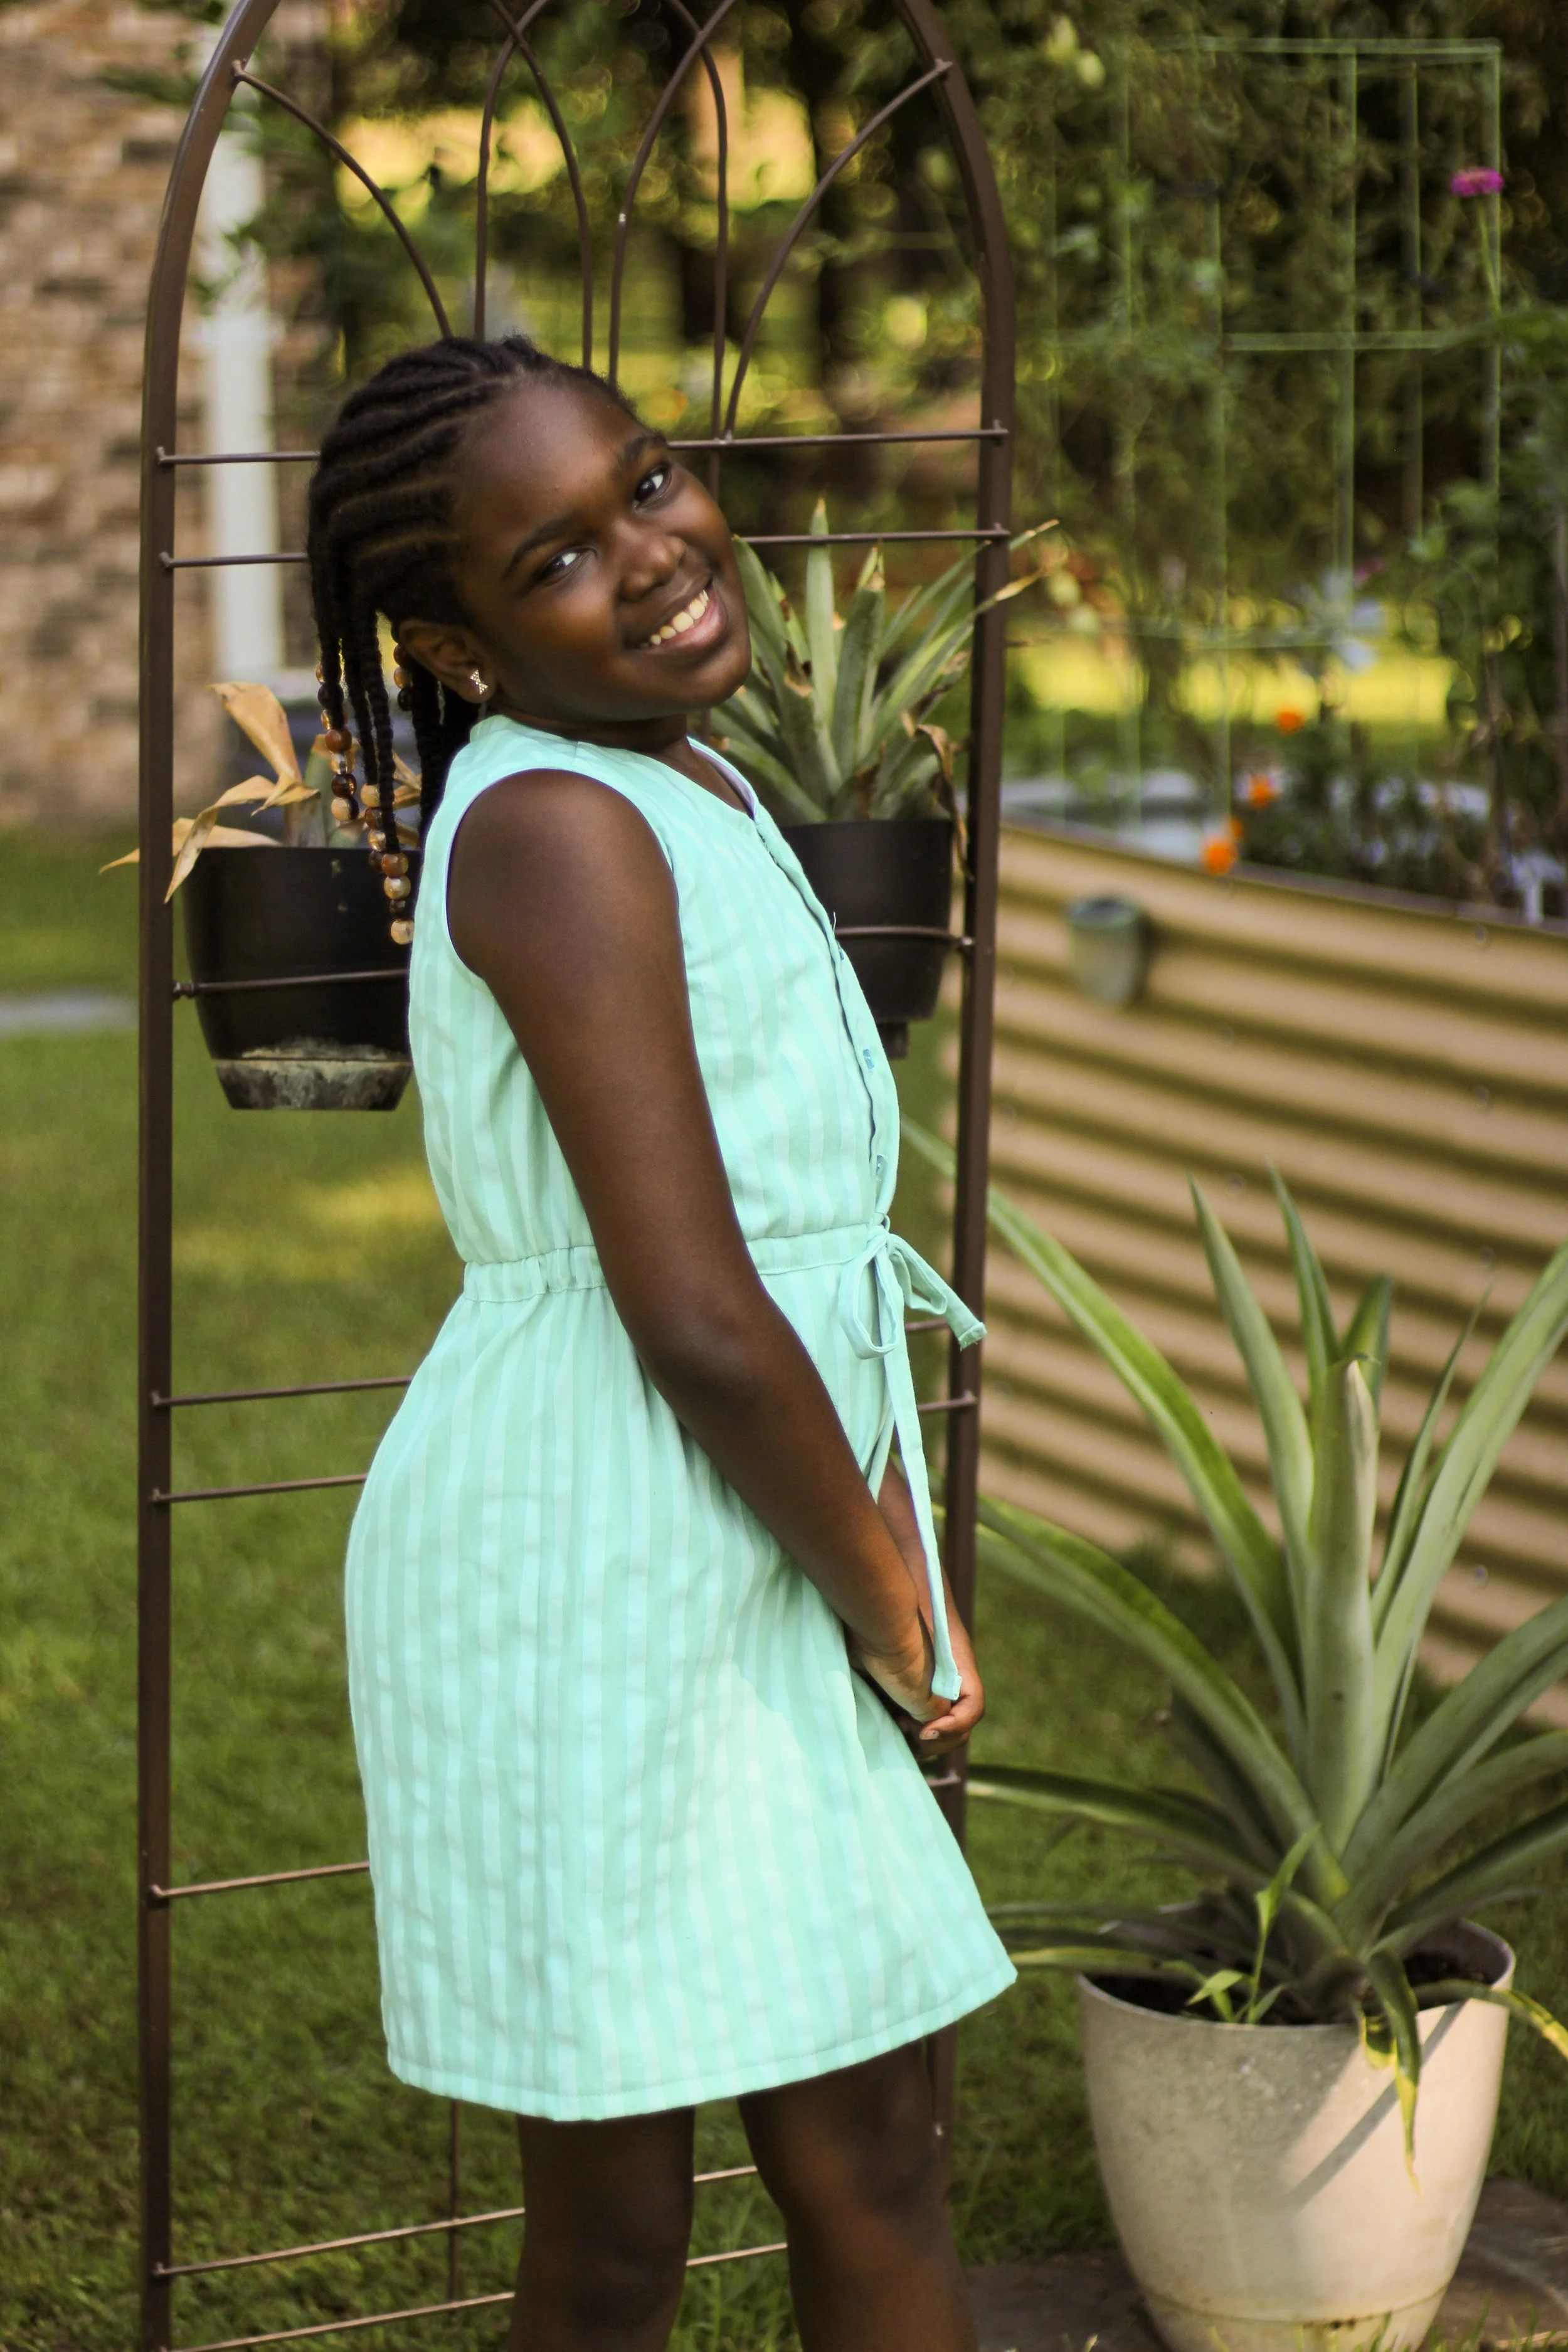
True Bias Mini Southport Dress
Some sewing plans take a little longer than expected to make their way from the pattern envelope to the sewing machine. The Trubias Mini Southport Dress is definitely one of those projects for me.
I originally made the Southport Dress for myself back in 2020, and I loved the pattern enough that I had every intention of making one for my niece. Of course, you know what they say about the best-laid plans! Somehow, years passed before I finally got around to it.
Fast forward to this summer, and I realized my niece was getting close to being outside of the pattern's size range. That was the motivation I apparently needed. I pulled the pattern out of the package, checked her measurements, and finally made the cut.
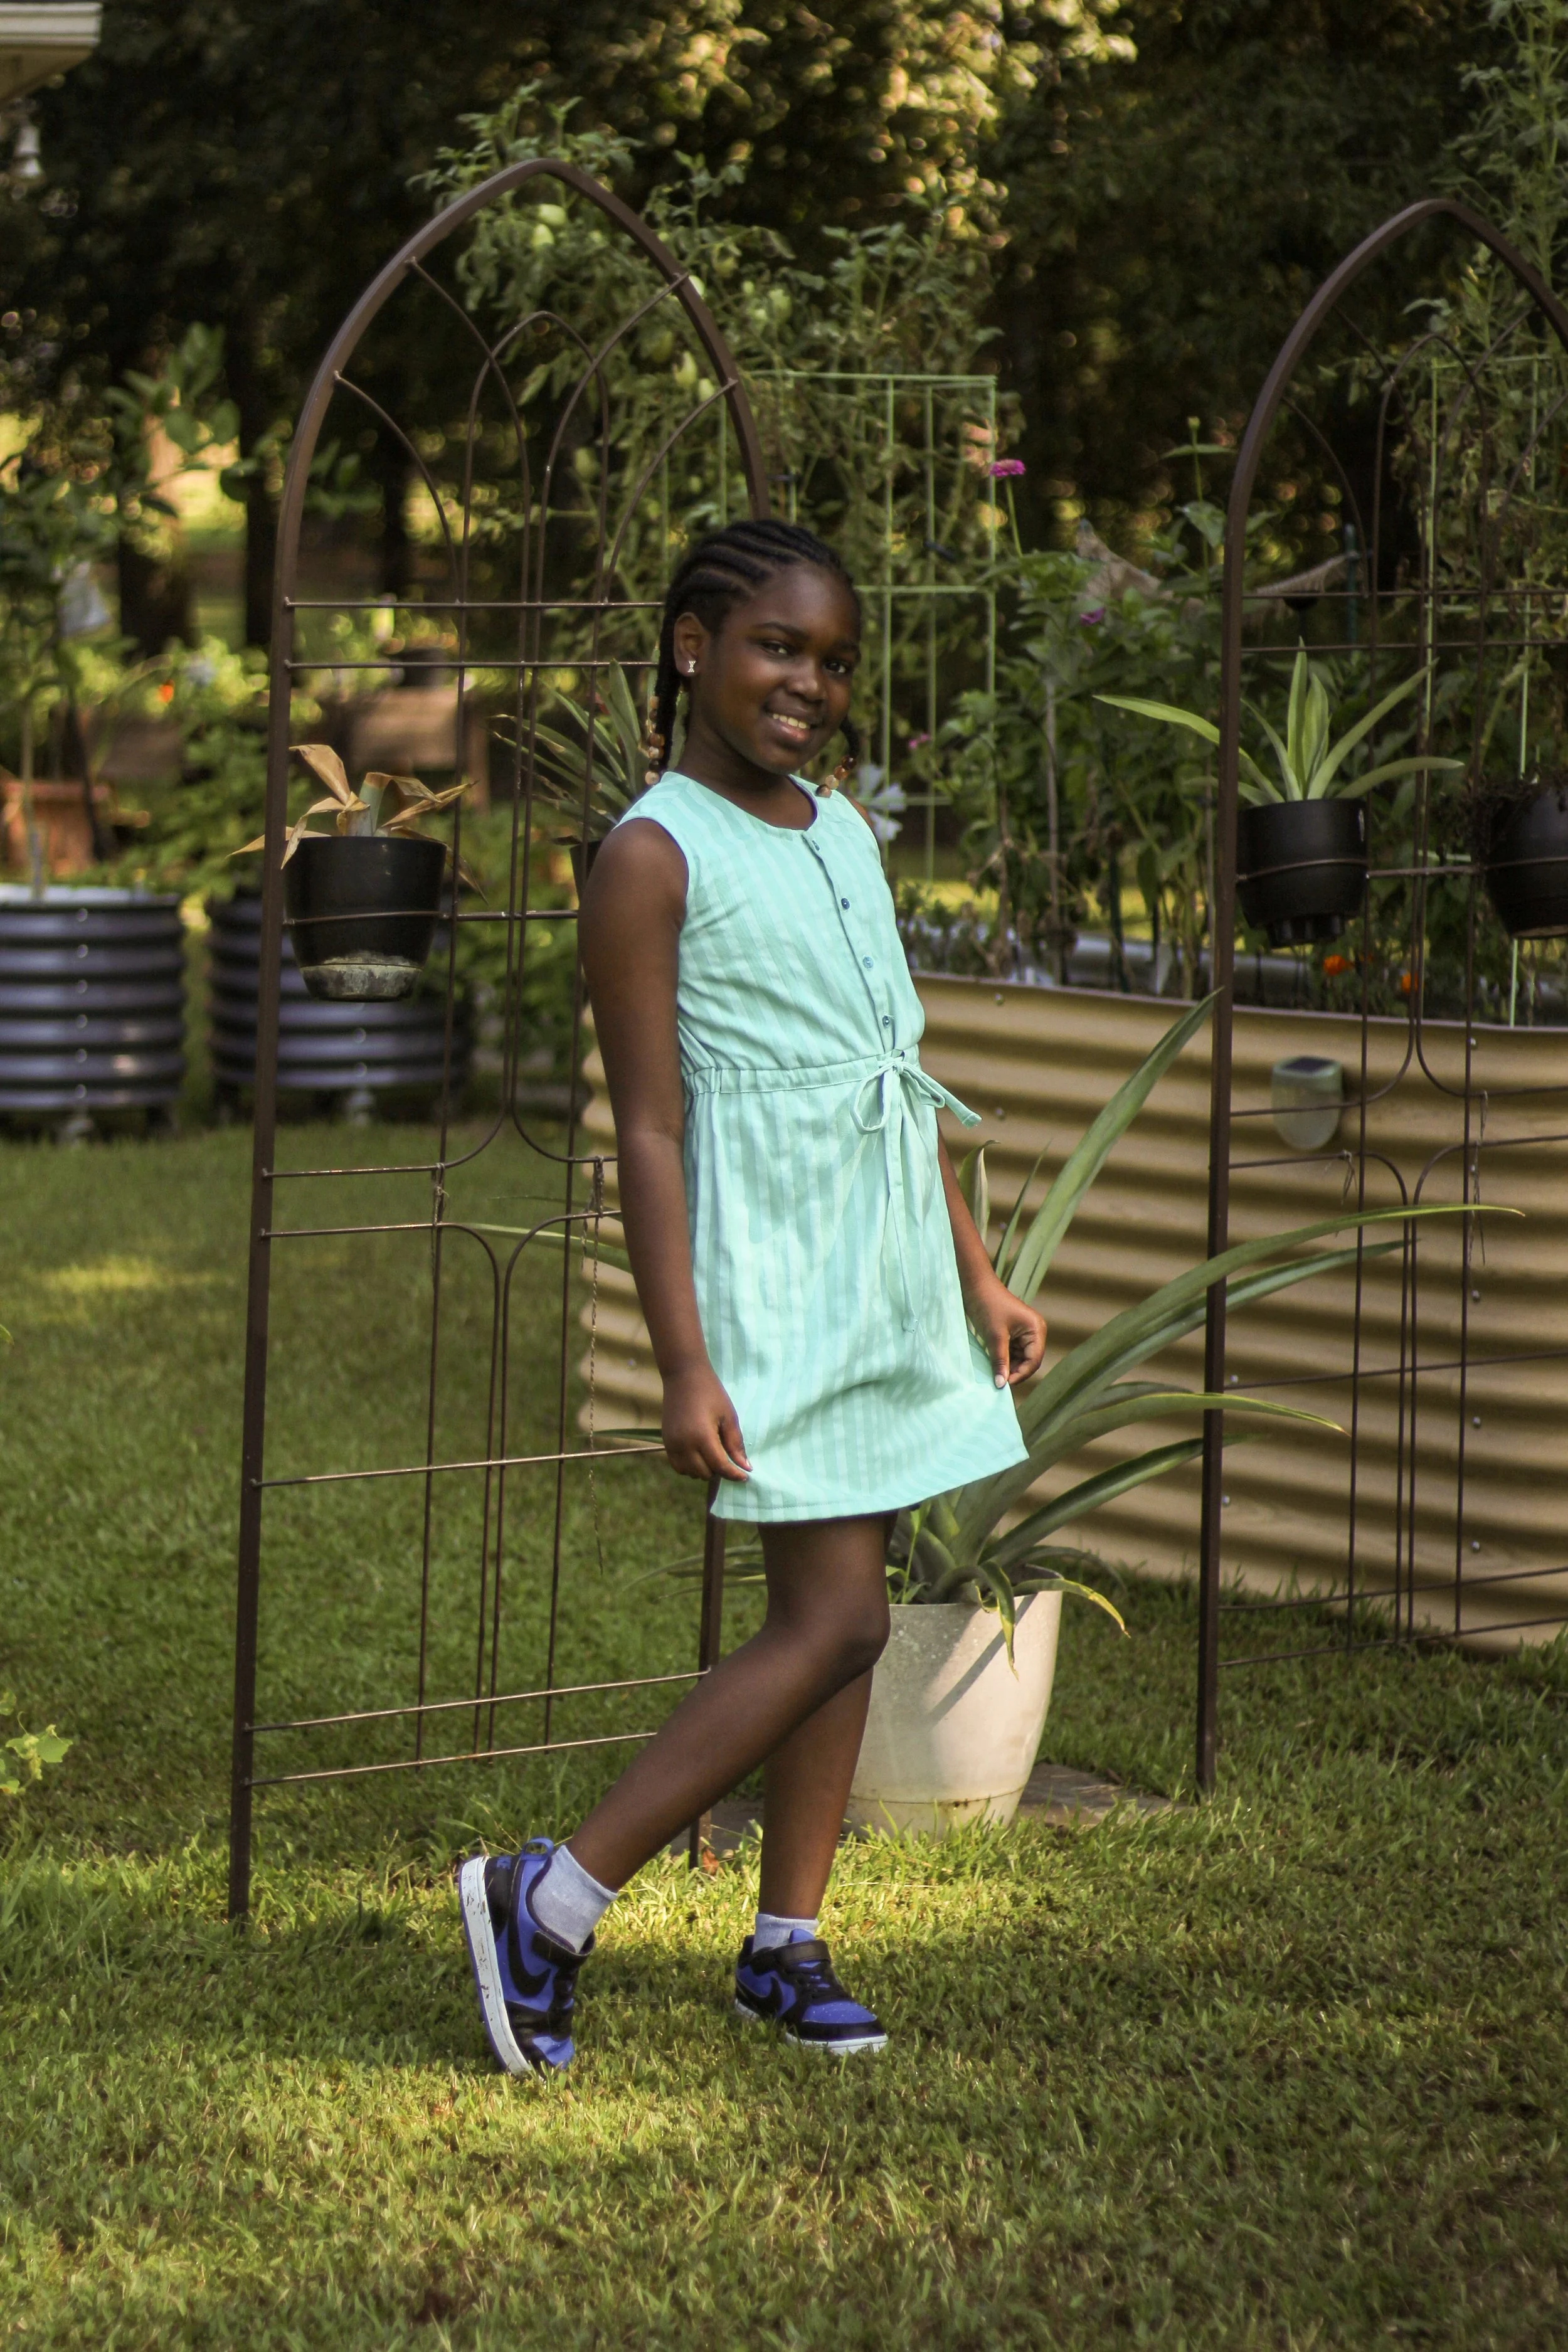
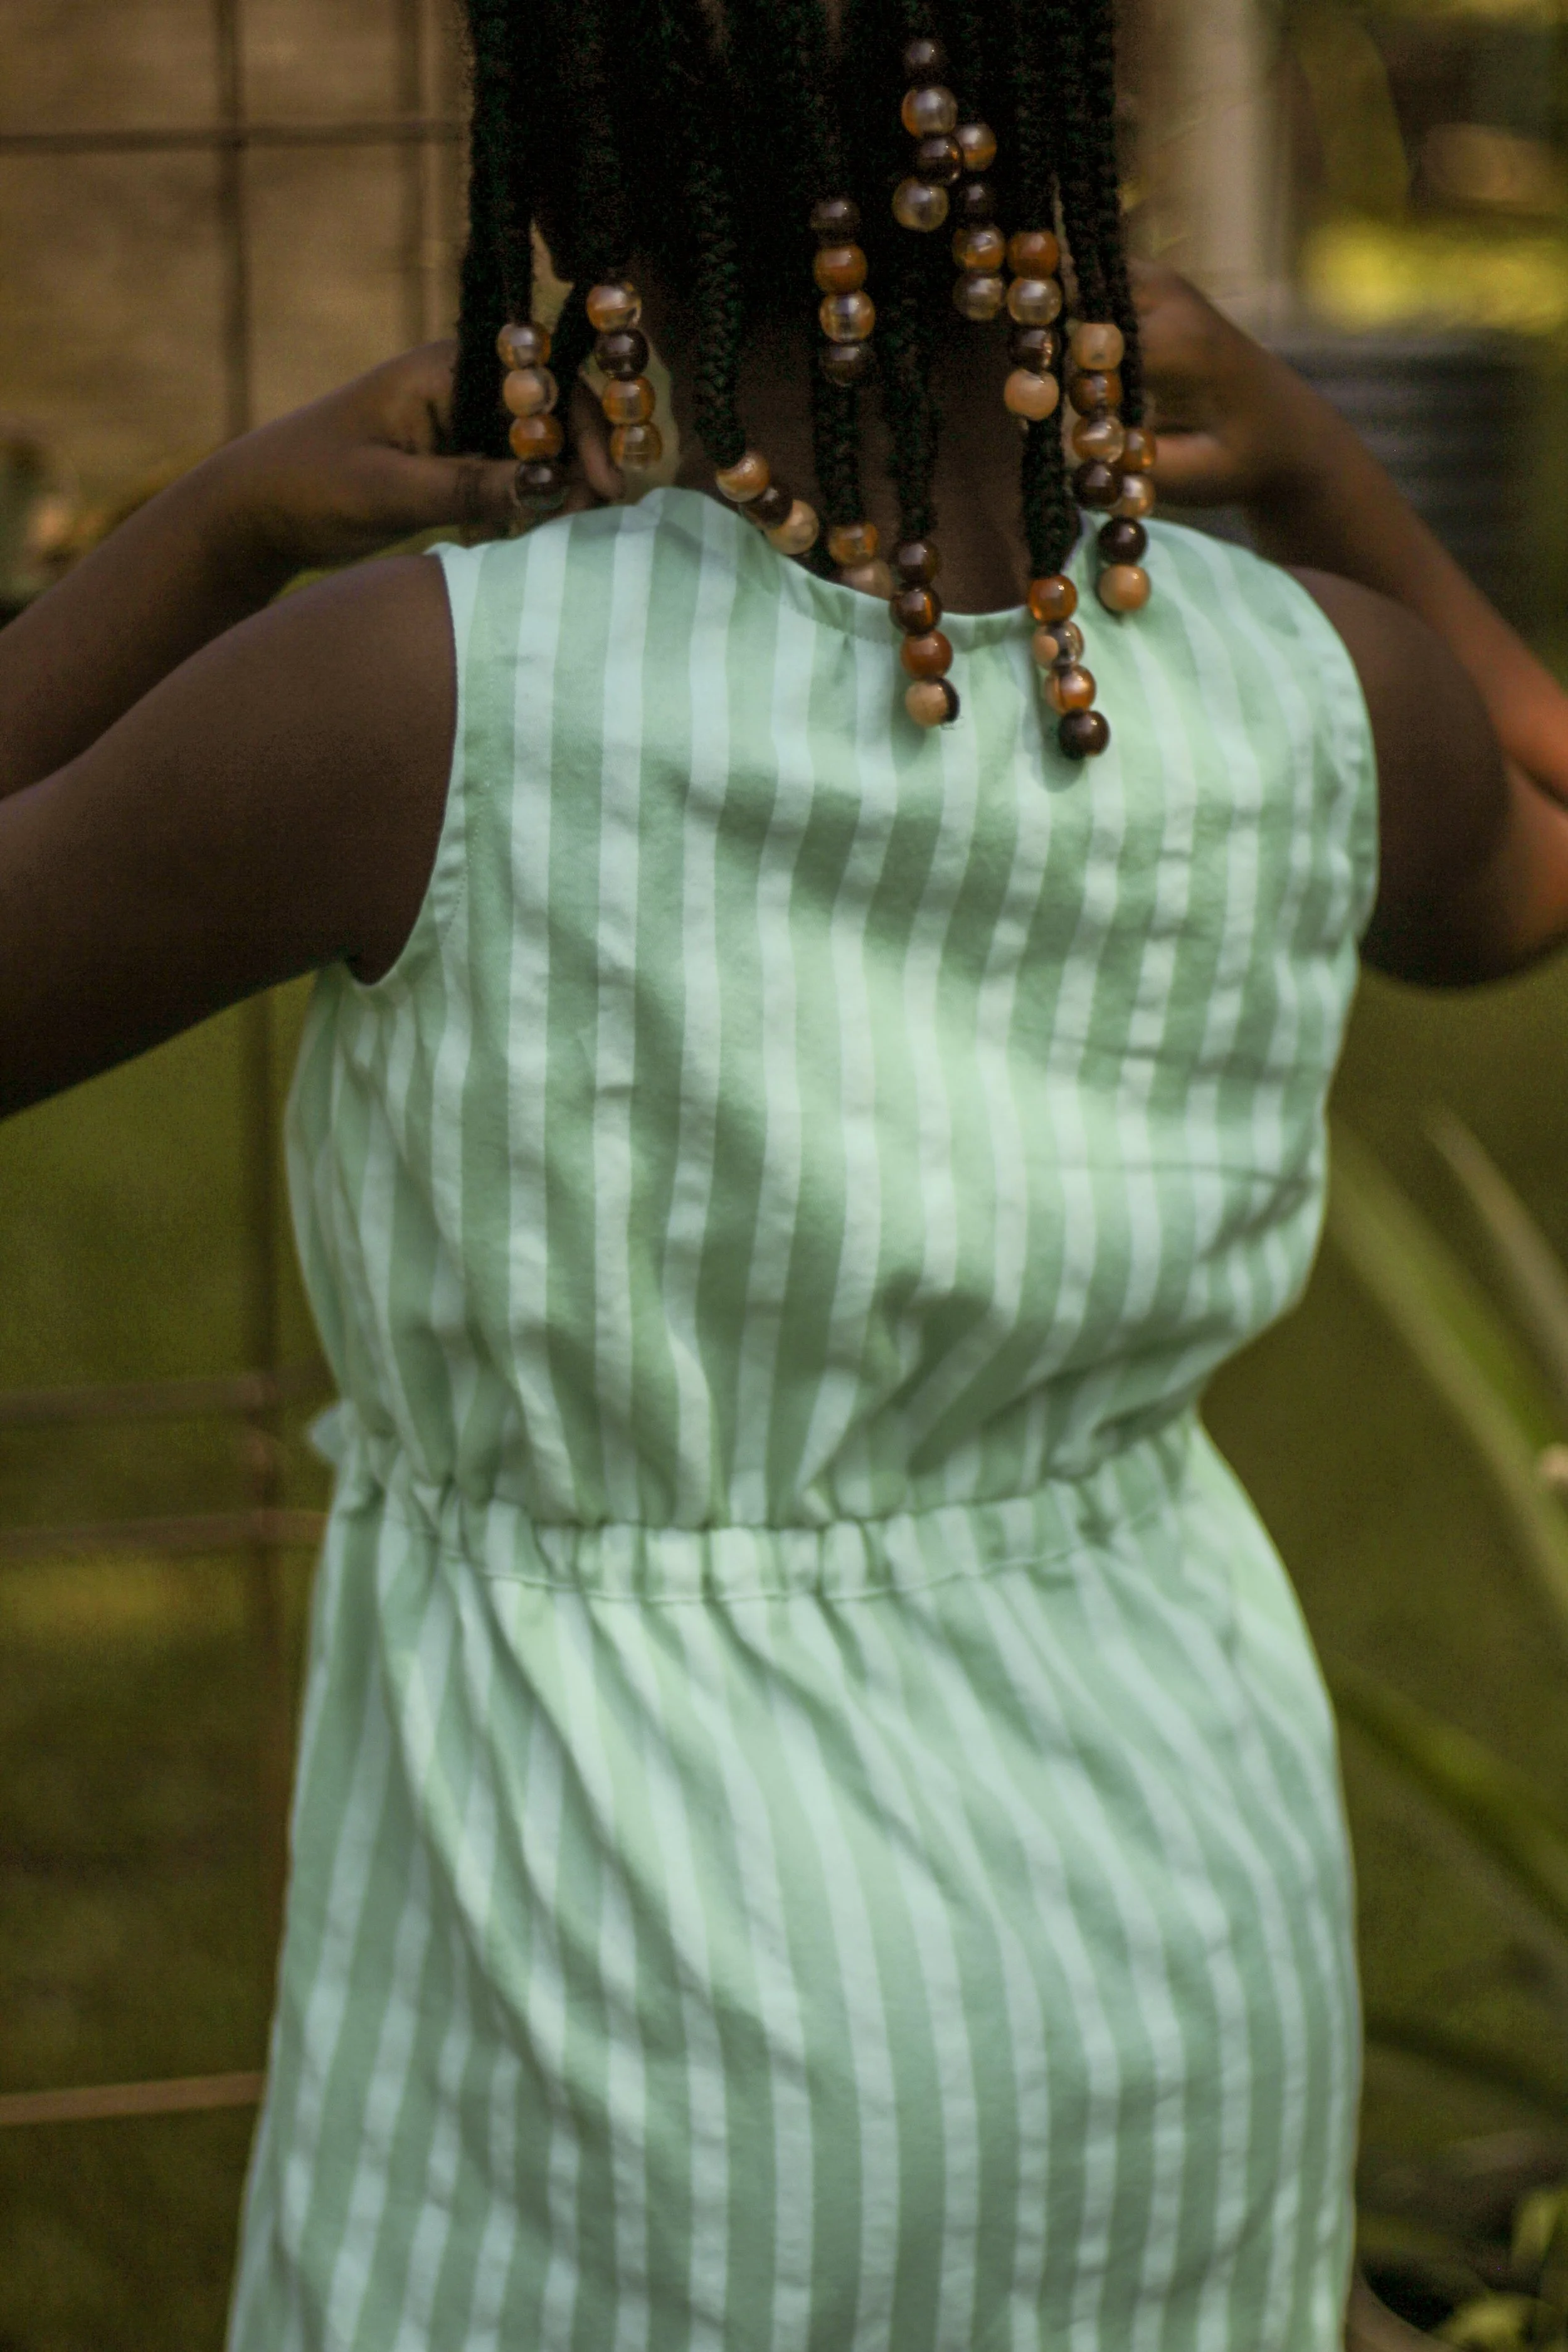
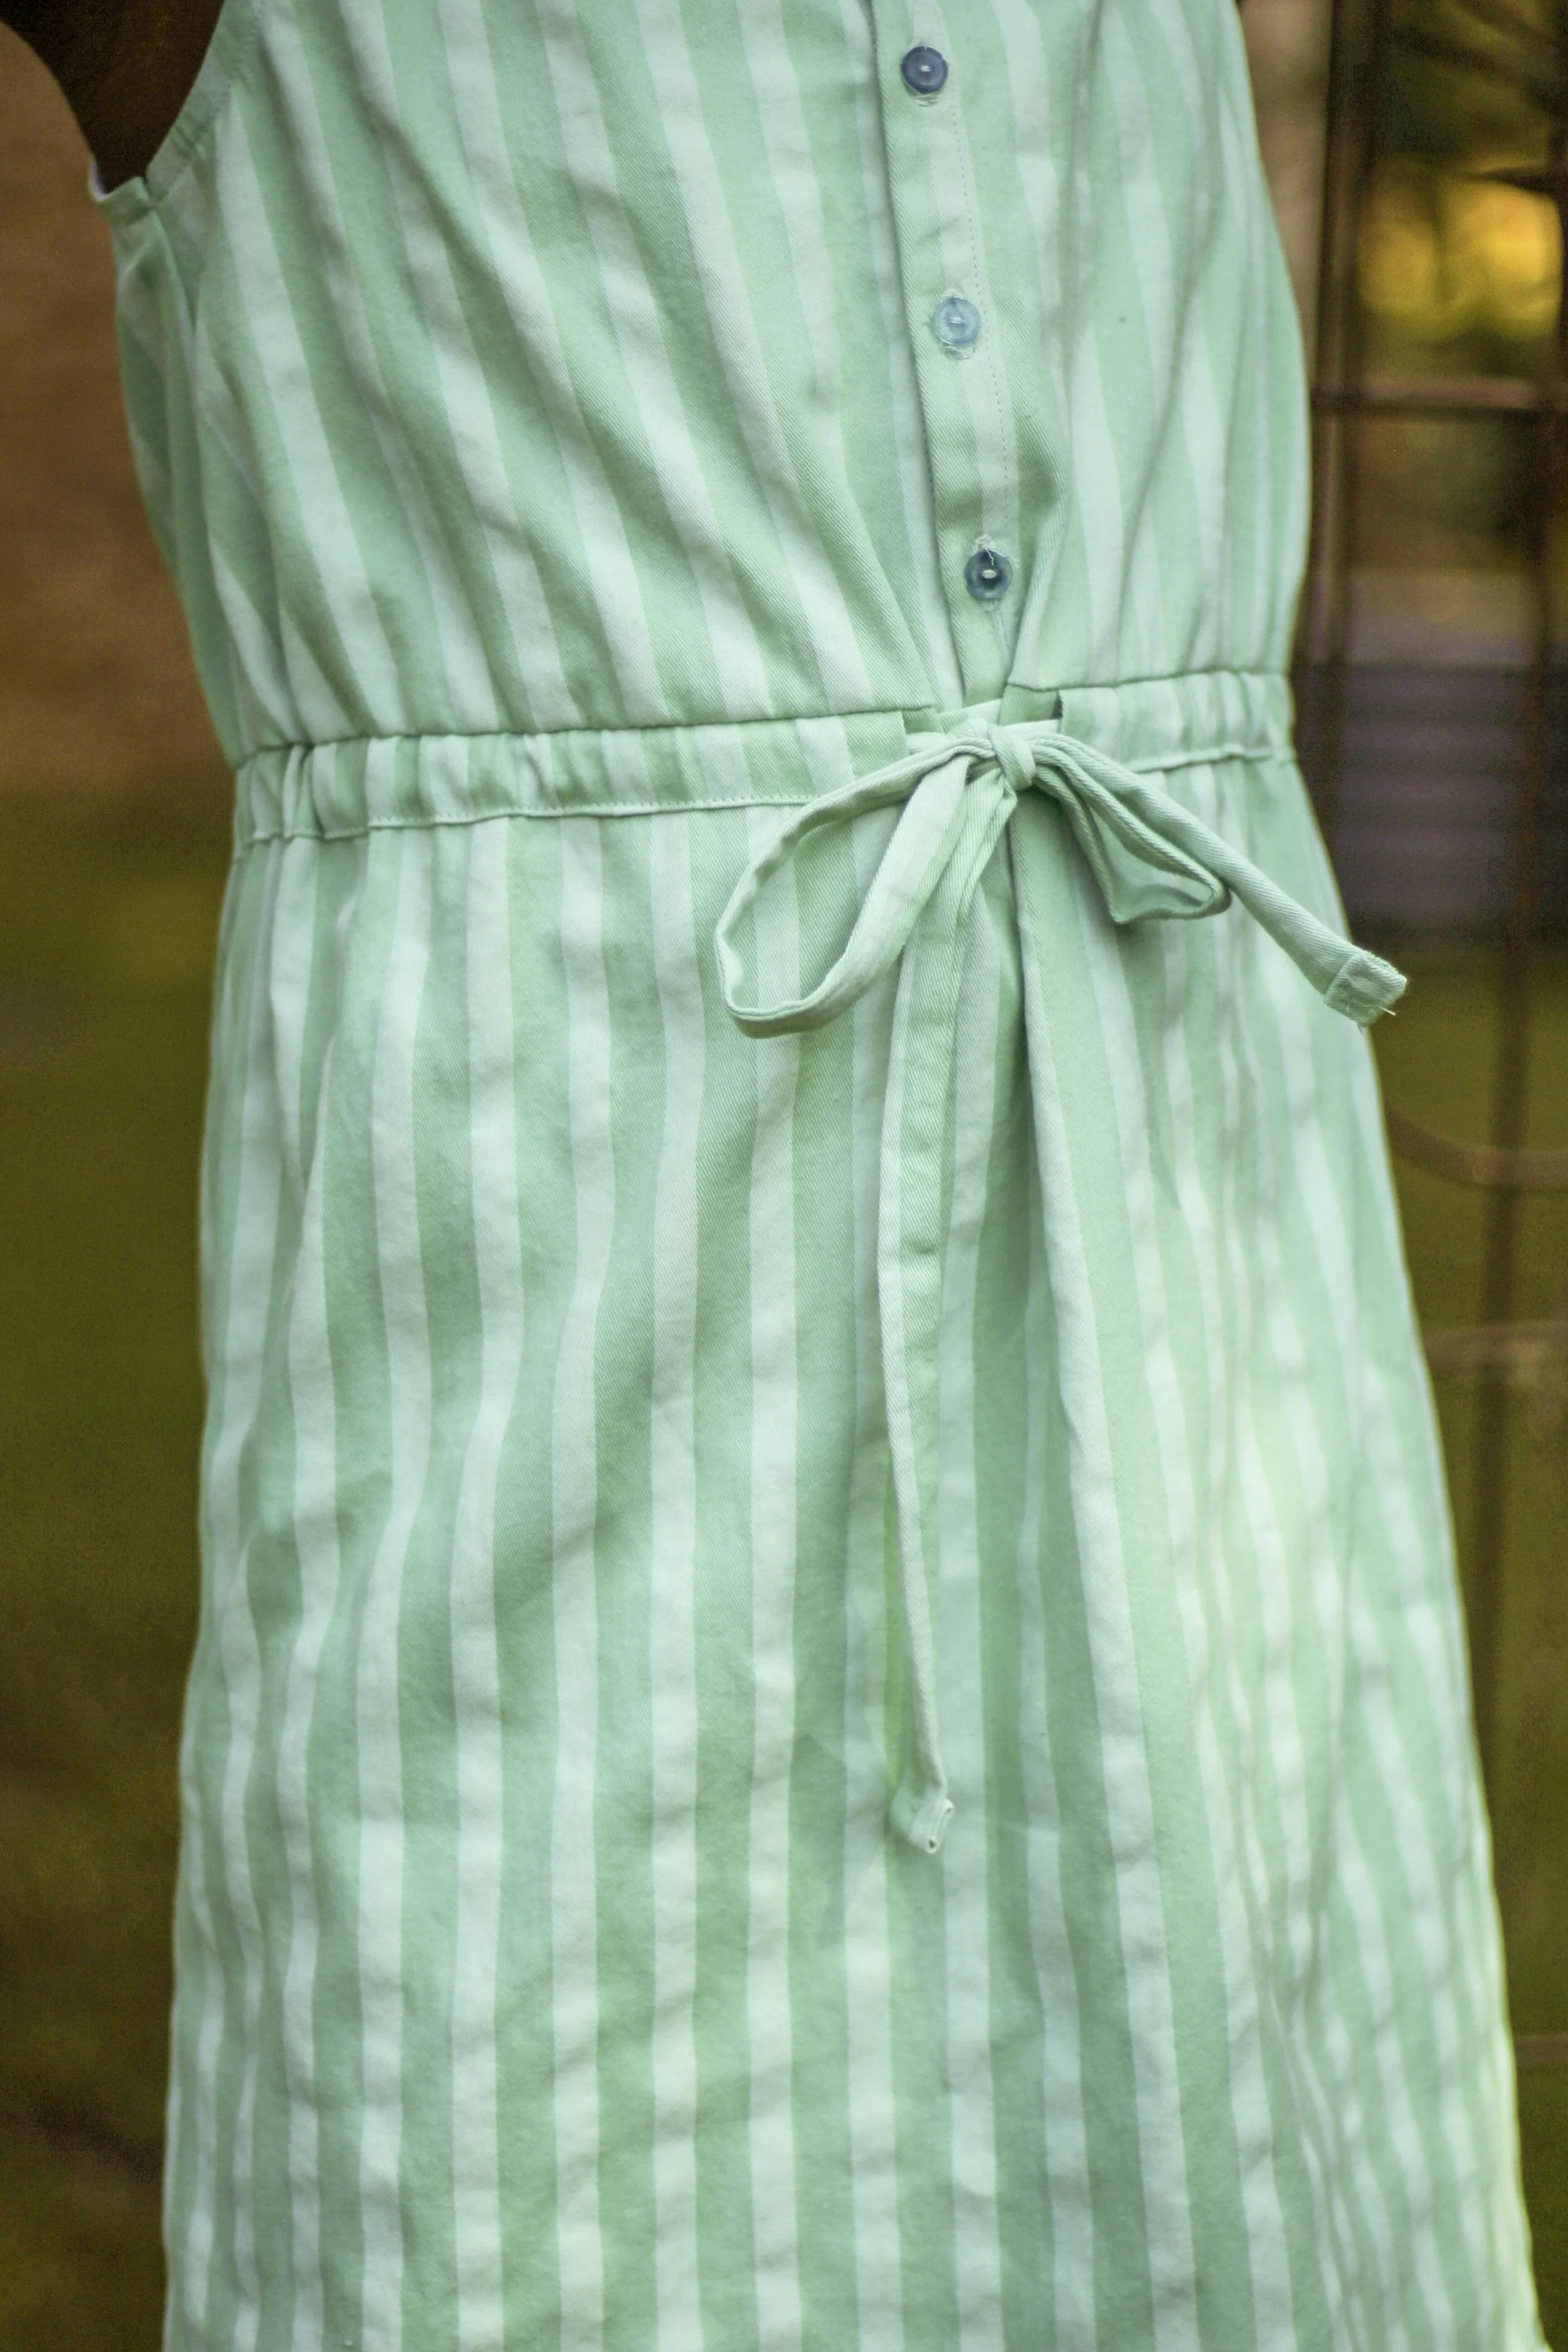
The True Bias Mini Southport Dress is the children's version of the Southport Dress pattern. Like the adult version, it has several details that make it both cute and functional. It features a button opening at the center front, an elastic waist at the back, and a functional drawstring waist at the front. The combination of the elastic back and drawstring front gives the dress some flexibility while still creating definition at the waist.
Based on my niece's measurements, I cut a size 10. For the most part, the size 10 fit well, but there is one adjustment I'll make the next time I use this pattern. After wearing the dress for an entire day, my niece mentioned that the armhole felt too tight and became uncomfortable. So I'll lower the armscye to give her a little more room, which should improve comfort around the armhole.
When I made this dress, I was still working my way through the #whole30fabricchallenge, so there was no question about where I would get my fabric. I used this lightweight cotton that I purchased from Hancock Fabrics in 2026.
One of my favorite details on this dress is actually one of the smallest—the buttons. I made the buttons myself using resin. I enjoy making my own sewing notions when I can, and making custom buttons gave me an opportunity to add another handmade element to the dress.
I also have a YouTube video showing my process for making the resin buttons, which I'll have at the end of the post if you are interested in seeing how I made them.
Overall, this was a relatively easy sew. The construction is straightforward enough that I think this would be a good project for someone who is building confidence with garment sewing. There are several techniques involved, but nothing felt particularly overwhelming during construction. The part I think may give a beginner the most trouble is the buttonholes. Buttonholes can be tricky even when you've made plenty of garments, and the experience can vary depending on your sewing machine and the type of fabric you're using. With lightweight cotton, it is especially important to make sure the fabric is properly stabilized before sewing the buttonholes. I recommend testing your buttonhole settings on a scrap of your fabric before stitching the actual dress. It's a small step that can save you from having to repair a buttonhole on the finished garment.
The pattern is currently sitting on my sewing table, but this time I'm hacking it into a top. Because why make one version of a pattern when you can immediately start figuring out how to turn it into something completely different? Ha! I'm currently working through the changes, so wish me luck!